Solar Panel Kit with Battery and Inverter Size and Install One Safely
A complete kit is the simplest way to power an RV, van, cabin or backup setup. Here is what is in the box, how to size it for your real loads, and how to wire it without taking risks.
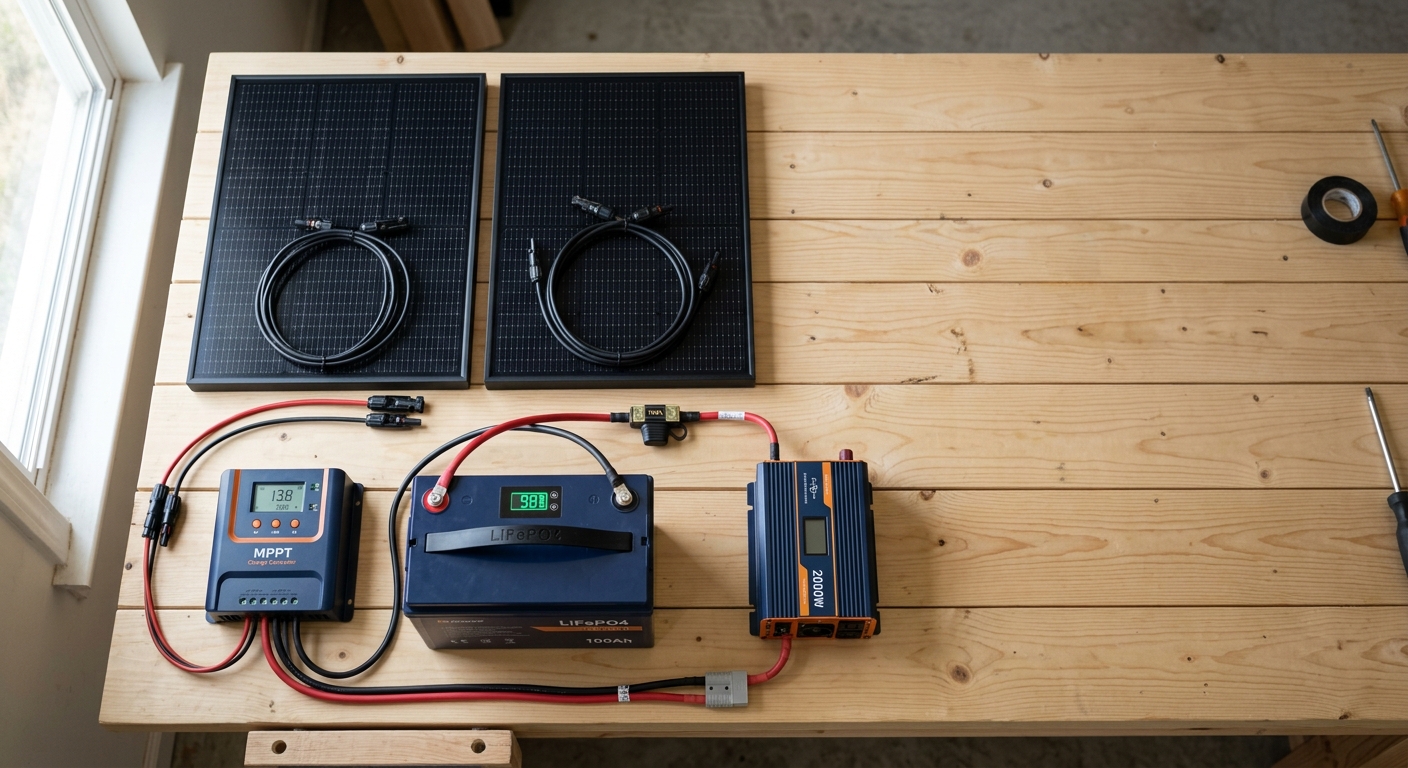
- PanelsCollect sunlight as DC power
- ControllerRegulates what reaches the battery
- BatteryStores energy for night and clouds
- InverterConverts DC to 120V AC
What is included in a complete kit
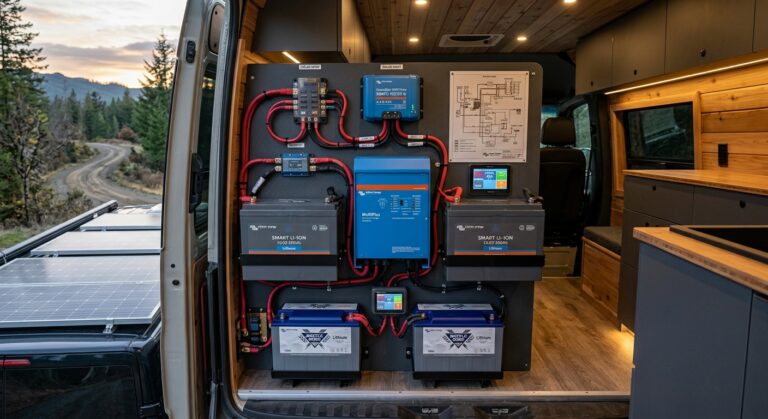
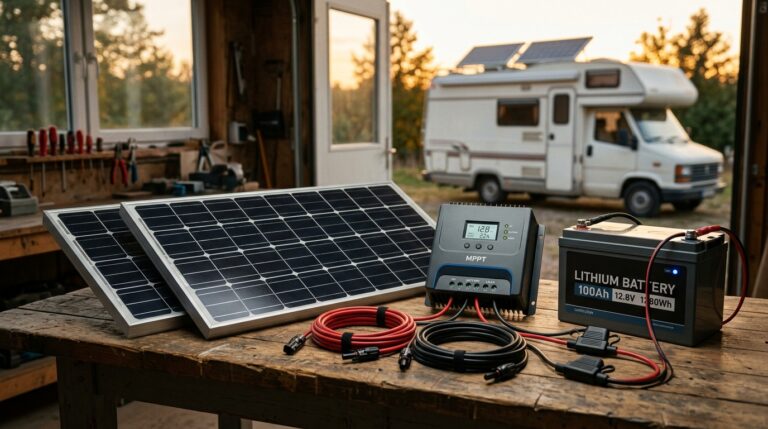
A real kit has the four core parts above plus the protection and wiring that keep it safe. Many cheap listings leave out the last two, so read the contents list before you compare prices.
Solar panels
Rigid, flexible or portable. Rigid panels last longest and give the best value per watt.
MPPT charge controller
Harvests more energy than PWM, especially in cold weather or with higher-voltage panel strings.
LiFePO4 or AGM battery
Lithium iron phosphate is lighter with more usable capacity. AGM costs less up front.
Pure sine wave inverter
Safest choice for laptops, fridges and other sensitive electronics.
Fuses and breakers
Protect every cable run. A disconnect switch lets you isolate the battery.
Cables and MC4 connectors
Correct gauge for the current and the cable length. Undersized cable overheats.
Three kit types: which one fits you?
| Kit type | Best for | Advantage | Drawback |
|---|---|---|---|
| Component kit | RVs, vans, cabins, DIY builders | Expandable, repairable, best value | Needs wiring knowledge |
| All-in-one inverter/charger | Cabins, home backup, larger systems | Fewer parts to wire | Higher cost, one failure hits several functions |
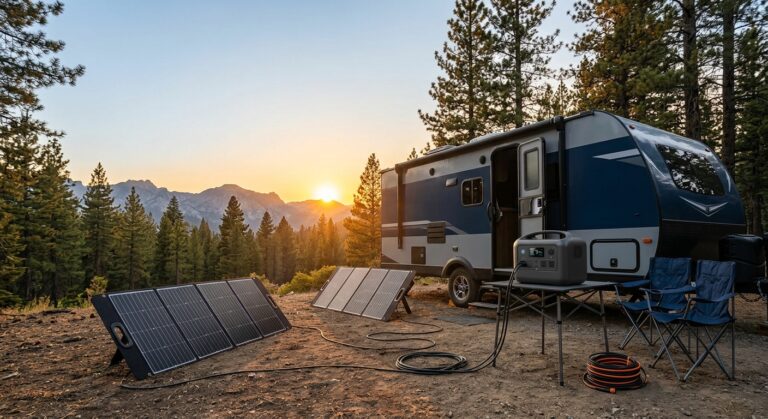
| Power station + folding panels | Camping, short trips, emergencies | Plug and play | Limited capacity and expansion |
Size your kit in 4 steps
Size around your real loads, not the big number on the box.
Add up daily energy use
Watts × hours for each appliance, then add them together.
Fridge 480 Wh + lights 50 Wh + 2 laptop charges 120 Wh = 650 Wh/day
Size the battery
Divide by usable depth of discharge. LiFePO4 uses most of its rating, AGM only about half if you want a long life.
650 Wh × 1.25 ≈ 810 Wh of LiFePO4
Size the solar array
Divide daily Wh by your peak sun hours, then by about 0.75 for real-world losses.
650 ÷ 4 sun hours ÷ 0.75 ≈ 217 W, so plan 300 W
Size the inverter
Add the watts of everything running at once, plus about 25 percent. Check the surge rating for fridges, pumps and tools.
Pick 12V for small inverters, 24V for larger, 48V for big systems
The example system at a glance
Bars are not to one scale. They show how each part grows from your daily need. Use the Appliance Load Calculator for your own numbers.
What to check before you buy
- Pure sine wave inverter, not modified sine wave.
- MPPT controller whose maximum input voltage and current match your panels.
- Battery with a built-in BMS, and low-temperature charge protection for lithium.
- Recognized safety listings (such as UL or ETL) on the inverter and battery.
- Fuses, breakers and a battery disconnect in the box or on your shopping list.
- A clear warranty and room to add panels or a second battery later.
Safety rules I follow on every install
Batteries store a lot of energy. A short circuit on a battery cable can cause fire and severe burns.
- Fuse at battery
- Battery to controller
- Panels to controller
- Inverter last
Disconnect in the reverse order.
Fuse the positive cable
Place the fuse close to the battery, sized for the cable and the maximum current.
Use the right cable gauge
Match the gauge to current and run length. Keep runs as short as possible.
Cover panels while wiring
Panels make voltage whenever light hits them. Cover them or use a disconnect.
Ventilate and secure
Fix batteries firmly in place. Lead-acid can release gas while charging.
Never back-feed a home circuit
Connect to a house only through a transfer switch fitted by a qualified electrician.
Follow the manual and local code
If you are unsure about any step, hire a qualified installer.
Common mistakes to avoid
- Buying on panel watts alone and ignoring battery capacity.
- Pairing a very large inverter with a small battery.
- Mixing old and new batteries, or different battery types, in one bank.
- Skipping fuses to save a few dollars.
- Mounting panels where part of them sits in shade.
A complete kit suits an RV or van, a small cabin or shed, and backup power for essentials like lights, internet, a fridge and device charging. Air conditioning, electric heating or a whole home needs a custom-designed system.
Frequently asked questions
What size kit do I need to run a fridge?
A small 12V RV or household fridge uses several hundred watt-hours a day. Read the label or use a plug-in watt meter, then follow the four sizing steps above.
Can I run an air conditioner on a basic kit?
No. Air conditioners have a high starting surge and large daily energy use, so they need a much larger, separately sized system.
Is a kit cheaper than buying parts separately?
Often yes, because parts are matched and bundled. It is only a good deal if each part fits your loads, so check every component, not just the total price.
Lithium or lead-acid battery?
LiFePO4 costs more but is lighter, has more usable capacity and usually lasts many more cycles. AGM is cheaper to buy but needs about double the rated capacity for the same usable energy.
Can I expand the kit later?
Yes, if the controller and inverter have spare capacity. Check the controller’s maximum input voltage and current before adding panels.
Start with your load list
Size the battery first, then match the panels and inverter. Our calculator gives you the numbers in a few minutes.